As an Amazon Associate, I earn from qualifying purchases at no extra cost to you.
How to Sterilize Jars in the Microwave Easily and Safely
When I first started making homemade jam, I lost an entire batch because I skipped proper jar sterilization. The fruit was perfect, the sugar was right, but tiny invisible bacteria ruined it all. When you don’t want to boil huge pots of water or heat up the oven, the microwave becomes a surprisingly reliable helper. It is fast, practical, and perfect for small batches. Once you learn how to do it right, it becomes second nature.
Wash jars thoroughly with hot soapy water and check for cracks. Keep jars wet and fill them halfway with clean water. Microwave until the water boils strongly and stays hot. Let jars sit briefly, then remove carefully using protection. Empty water and place jars upside down on a clean towel. Sterilize lids separately using boiling water. Keep everything hot and clean until filling to prevent contamination.
Preparing Jars Before Microwaving
Before the microwave comes into play, the real work starts at the sink. Every jar must be washed with hot water and dish soap, inside and out. Use a bottle brush so you can scrub the bottom and the narrow neck properly. Pay extra attention to the screw threads where food residue loves to hide. Even if the jar looks clean, invisible oils or dust can still be there.
After washing, rinse each jar well so no soap film remains. Soap residue can interfere with sealing and may even affect the taste of your food. Hold the jar up to the light and look closely. If you see cracks, chips, or cloudy scratches, do not use that jar. Heat can make damaged glass break suddenly, and that can cause burns.
Leave the jars slightly wet after rinsing. This moisture helps protect the glass during heating. Dry jars can heat unevenly, which increases the risk of cracking. Taking five extra minutes at this stage saves you from broken jars and spoiled food later.
- Wash jars with hot soapy water
- Scrub inside, outside, and threads
- Rinse thoroughly to remove soap
- Check carefully for cracks or chips
Microwaving Jars Safely
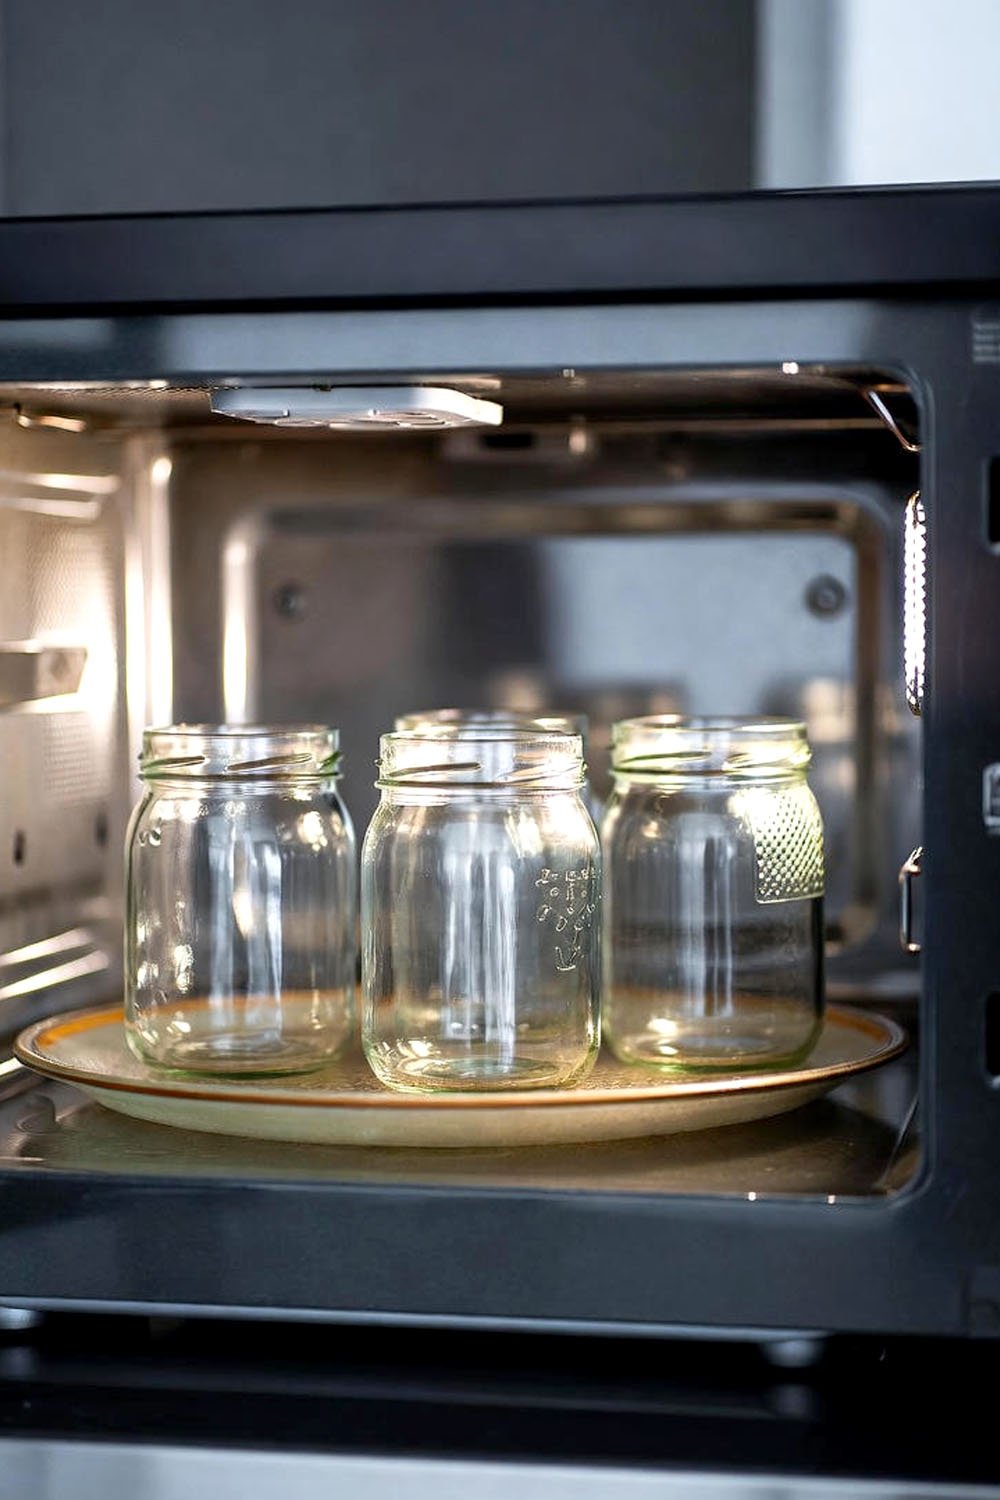
Once the jars are clean, the microwave does the heavy lifting. Fill each jar about halfway with clean water. This water is essential because it absorbs the microwave energy and creates steam, which kills bacteria. Never microwave empty jars because dry glass can overheat and shatter.
Place the jars upright in the microwave with space between them. If your microwave has a turntable, make sure jars are stable so they do not tip over. Heating time depends on your microwave’s power, but most jars need about two to three minutes. Watch closely until the water reaches a strong rolling boil.
After boiling starts, leave the jars inside the microwave for about one extra minute. This keeps the temperature high enough to finish sterilizing. Remove jars carefully using oven mitts or tongs. The glass and water will be extremely hot. Pour out the water and place the jars upside down on a clean towel so they stay sterile until filling.
- Fill jars halfway with water
- Microwave until water boils strongly
- Leave inside one extra minute
- Handle carefully with protection
Sterilizing Lids and Accessories
Jars are only half the story. Lids and seals also need attention, and they cannot go into the microwave if they are metal. The safest method is boiling. Place lids in a small pot, cover with water, and simmer gently for five to ten minutes. This softens the sealing compound and kills bacteria.
If you are using rubber or silicone rings, boiling works well for them too. Avoid adding soap, since residue can prevent proper sealing. Once sterilized, remove lids using clean tongs and place them on a clean towel or plate. Keep them away from drafts, pets, and busy hands.
Timing matters here. Ideally, jars should still be hot when you put the lids on. Warm lids seal better and reduce the chance of contamination. Keeping everything clean and organized during this stage makes the whole process calmer and more controlled.
- Boil metal lids for 5 to 10 minutes
- Sterilize rubber seals in hot water
- Avoid soap on lids
- Keep lids on clean surfaces
Filling Jars Without Contamination
Filling jars is where all your careful work can be undone if you rush. Always work on a clean counter and wash your hands before starting. Use a clean funnel to guide food into the jar. This keeps the rim clean and prevents sticky messes that attract bacteria.
Leave about half an inch of space at the top of the jar. This headspace allows food to expand and helps create a proper seal. If food spills onto the rim or threads, wipe it immediately with a clean, damp cloth. Even a small smear can stop the lid from sealing correctly.
Put the lid on while the jar is still warm. Screw the band on just until snug. Do not overtighten. Air needs to escape during cooling or processing. Taking your time here improves shelf life and keeps your food safe.
- Use a clean funnel
- Leave proper headspace
- Wipe rims immediately
- Tighten lids only finger-tight
Storing Sterilized Jars
After filling and sealing, jars need a calm place to cool. Set them on a towel with space between each jar. Avoid stacking while they are hot because trapped heat can weaken seals. As jars cool, you may hear soft popping sounds, which means the lids are sealing properly.
Store sealed jars in a cool, dark place like a pantry or cupboard. Sunlight and heat can degrade both food and seals over time. Label each jar with the contents and date. This makes rotation easy and prevents forgotten jars from lingering too long.
Check jars occasionally. If a lid bulges, leaks, or smells off when opened, discard the contents. Microwave sterilization is effective, but safe storage habits complete the process.
- Cool jars with space between them
- Store in a cool, dark place
- Label jars clearly
- Inspect jars before use
Cleaning Up After Sterilization
Once everything is stored, cleanup keeps your kitchen ready for next time. Pour out hot water carefully and allow tools to cool before washing. Rinse funnels, tongs, and mitts thoroughly and let them air dry. Moist tools stored away can grow mold.
Wipe down counters and wash towels used during sterilization. If your microwave collected steam or spills, wipe it dry. A clean workspace prevents cross-contamination for your next batch and makes the process less stressful.
Keeping your tools together in one place saves time later. A simple routine after each session builds confidence and consistency.
- Dispose of hot water safely
- Clean all tools used
- Wipe microwave interior
- Store tools in a dry place
Final Thoughts
Sterilizing jars in the microwave is a simple skill that saves time and energy. When done carefully, it protects your food and your effort. Clean jars, hot water, and good timing make all the difference. Once you trust the process, homemade preserves become less stressful and far more rewarding.
| Action | Details | Tips |
|---|---|---|
| Wash jars | Hot water and dish soap | Scrub threads and bottoms |
| Inspect jars | Look for damage | Discard cracked jars |
| Add water | Halfway full | Prevents glass cracking |
| Microwave | 2 to 3 minutes | Wait for rolling boil |
| Rest time | 1 minute inside | Maintains sterilization |
| Sterilize lids | Boil 5 to 10 minutes | No soap residue |
| Fill jars | Warm jars only | Leave headspace |
| Store jars | Cool dark area | Label with date |
Frequently Asked Questions (FAQs)
Is it safe to sterilize jars in the microwave?
Yes, it is safe when done correctly. Glass jars can handle microwave heat as long as they are not damaged and contain water. The boiling water produces steam that kills bacteria effectively. Always handle jars carefully because they become extremely hot.
Can I sterilize baby food jars this way?
Yes, baby food jars work well in the microwave as long as they are glass and free from cracks. Clean them thoroughly, add water, and heat until boiling. This method is convenient for small jars and short storage needs.
Do I need to dry jars after microwaving?
No, drying with a towel can introduce bacteria. Instead, pour out the water and place jars upside down on a clean towel. They will air dry while staying sterile.
Is it okay to microwave jars with labels removed?
Yes, but remove all glue residue. Sticky spots can burn or smell in the microwave. A vinegar soak helps remove stubborn adhesive before washing.
Can I microwave jars with plastic parts?
No, jars with plastic components are not safe for sterilization this way. Plastic can melt or release chemicals. Only use plain glass jars.
Do I need to sterilize jars for refrigerator storage?
It is still recommended. Even refrigerated foods can spoil faster in unsterilized jars. Clean jars extend freshness and reduce waste.
Is microwave sterilization enough for long-term canning?
For high-acid foods like jams, it works well when combined with proper sealing. For low-acid foods, additional processing like pressure canning is required.
Can I reuse jars multiple times?
Yes, as long as the jars remain undamaged. Inspect them every time. Reusing jars is economical and safe with proper cleaning and sterilization.
