As an Amazon Associate, I earn from qualifying purchases at no extra cost to you.
5 Steps to Clean Your Stainless Steel Sink and Keep It Shiny
Have you ever stared at your stainless steel sink, wondering how to keep it looking as shiny as the day you bought it? Stainless steel sinks are a beautiful addition to any kitchen, but they can quickly lose their sparkle due to water stains, grease, and dirt buildup. The good news is that cleaning and maintaining your sink’s luster isn’t as hard as it seems. In fact, with the right tools and a little know-how, you can easily keep your stainless steel sink looking brand new for years.
So, let’s talk about how to clean your sink step by step. Get ready to roll up your sleeves because we’re diving into the 5 steps that will transform your sink from dull to dazzling. Not only will you enjoy a shiny surface, but you’ll also feel proud of your kitchen’s cleanliness. Ready? Let’s go!

Step 1: Gather Your Cleaning Supplies
Before diving into the cleaning process, it’s important to gather everything you’ll need. This step is often overlooked, but trust me, having all the necessary supplies on hand will make the job a lot easier and more efficient. Here’s a list of the basic supplies you’ll need:
- Mild dish soap or all-purpose cleaner: Choose something gentle that won’t scratch the surface. Avoid harsh chemicals as they can damage the finish of your sink.
- Baking soda: This inexpensive, eco-friendly cleaner is your best friend when it comes to scrubbing away tough stains and grime.
- White vinegar: Perfect for removing water spots and restoring the shine.
- Microfiber cloths: These are essential for drying and polishing without leaving any lint behind.
- A soft sponge or non-abrasive scrub brush: Scrubbing with something too harsh can scratch your sink, so make sure the sponge or brush is soft.
- A rubber or plastic gloves: Protect your hands from cleaning products and any grime that might be stuck on the sink.
- A clean towel or a dish towel: For drying and polishing the sink after cleaning.
Once you’ve got all your tools ready, it’s time to get to work. Trust me, having everything in one place will save you time, and we all know how valuable time is!
Step 2: Remove Debris and Rinse the Sink
The first thing you should do before cleaning your stainless steel sink is to remove any debris. Whether it’s leftover food, crumbs, or even soap scum, a clean surface is essential for effective cleaning. Start by running a little warm water over the surface of the sink to loosen any dirt or food particles.
If you see larger bits of food, simply use a paper towel or sponge to wipe them away. Make sure to clean the drain area as well. Often, food gets stuck around the edges of the drain, so it’s essential to remove that too.
Once you’ve cleared the surface of your sink, give it a quick rinse with warm water. This step is key to ensuring that any excess grime or soap you use during the cleaning process is thoroughly removed. You wouldn’t want to leave any cleaning products behind, as they could leave spots or streaks.
Take a step back and admire the clean surface for a moment. It’s always nice to see a sink that’s free from debris, even before cleaning!
Step 3: Use Baking Soda for a Gentle Scrub
Now that your sink is debris-free, it’s time to tackle the real cleaning. Baking soda is the superstar in this step. Not only does it clean, but it’s also gentle enough not to scratch your stainless steel surface. This makes it a great option for a deep clean.
Sprinkle a generous amount of baking soda onto the wet surface of your sink. You don’t need to go overboard; just a light layer will do the trick. Baking soda acts as a mild abrasive, which will help to remove stuck-on food, stains, and grease. It’s perfect for lifting away grime without harming your sink’s finish.
Using your soft sponge or scrub brush, gently scrub the surface of your sink in circular motions. Start from the edges and work your way towards the drain. Don’t forget to scrub the faucet area and the sides of the sink as well. Baking soda is especially effective around the faucet, where water can build up and leave stains.
Pay extra attention to any spots or stains that seem more stubborn than others. Baking soda’s abrasive nature will break down any built-up grime. For tough spots, you can let the baking soda sit for 10-15 minutes before scrubbing. The longer it sits, the easier it is to clean away.
Once you’ve scrubbed every corner of the sink, rinse it thoroughly with warm water to remove all the baking soda residue. Your sink will start to look a lot cleaner, and you’re one step closer to getting that shiny finish.
Step 4: Vinegar for Streak-Free Shine
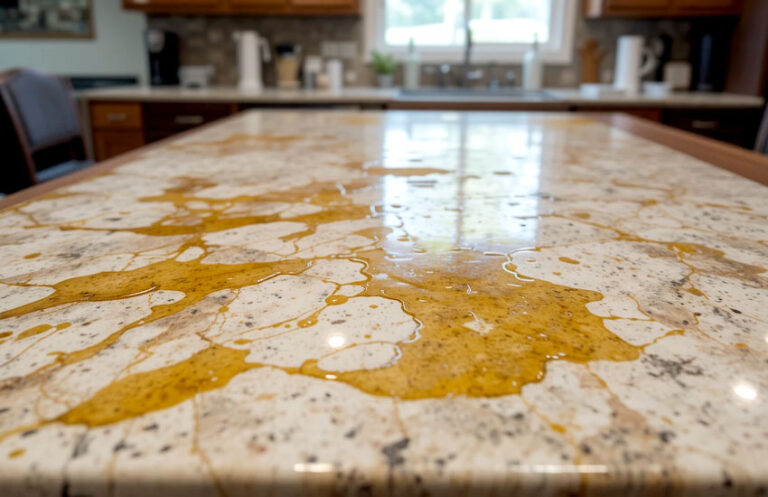
Here’s where the magic happens. While baking soda cleans the surface, vinegar is your secret weapon for making your sink shine like never before. Vinegar is naturally acidic, which makes it effective at breaking down mineral deposits, water spots, and soap scum.
To use vinegar, you have two options: You can either pour it directly onto the surface or mix it with water in a spray bottle for a more even distribution. If you opt for the spray bottle, just mix equal parts water and vinegar.
Spray the vinegar mixture generously over the surface of the sink, focusing on areas that have water stains or soap scum. After spraying, let it sit for a few minutes. This gives the vinegar time to dissolve any build-up.
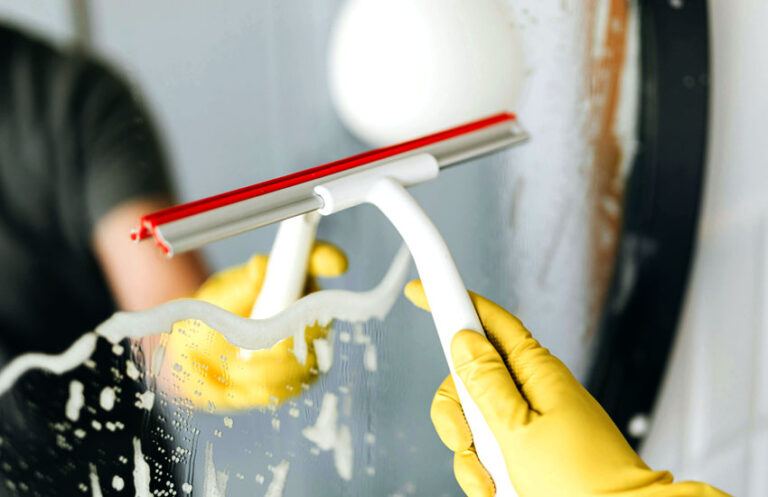
Next, take a microfiber cloth and wipe down the sink. Start from one side of the sink and work your way around, making sure you get every spot. The microfiber cloth will leave your sink streak-free, and it’ll also pick up any lingering debris left from the previous steps.
If you still see water spots or streaks after wiping, take another clean cloth and give it another wipe-down. Be sure to dry your sink completely. The drying process is essential because water left to dry naturally can leave mineral stains on the surface.
Step 5: Final Touches and Regular Maintenance
Your stainless steel sink is looking shiny and brand new! But how do you keep it that way? Regular maintenance is key. Here are a few simple tips to maintain that shiny, clean surface:
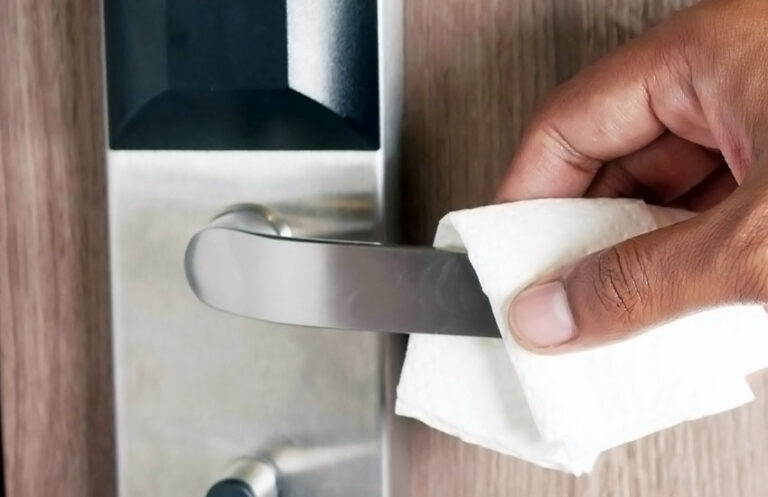
- Wipe it down daily: After using your sink, take a few minutes to wipe it down with a clean, dry microfiber cloth. This will help prevent water spots and soap scum from building up.
- Use a sink mat or protector: To prevent scratches from dishes or pots, consider placing a rubber mat or sink protector at the bottom of the sink.
- Deep clean weekly: While daily wipe-downs will help with maintenance, you should aim for a deep clean once a week using baking soda and vinegar.
- Avoid harsh chemicals: Never use abrasive cleaners, steel wool, or bleach on your stainless steel sink. These can damage the finish and lead to scratches.
- Polish occasionally: If you want to bring your sink’s shine to the next level, you can apply a small amount of olive oil or baby oil to a soft cloth and gently buff the surface. This will restore its lustrous finish.
Keeping your sink shiny doesn’t have to be a daily struggle. By following these steps and making cleaning a regular habit, you’ll ensure that your stainless steel sink stays looking brand new for years to come.
I hope you’re feeling confident now that you have all the knowledge you need to keep your stainless steel sink shining like a pro! With just a few simple steps and the right tools, you can make your kitchen look cleaner, brighter, and more welcoming. Plus, the best part is that it won’t take up much of your time at all. So go ahead and give your sink the TLC it deserves – your kitchen will thank you!

Are These Questions in Your Mind?
Is it safe to use vinegar on stainless steel?
Yes, vinegar is safe to use on stainless steel, as long as it’s diluted with water. It helps to remove mineral deposits, soap scum, and water spots without damaging the surface.
Can I use bleach on my stainless steel sink?
No, bleach should be avoided when cleaning your stainless steel sink. It can damage the finish and lead to discoloration over time.
Do I need to scrub my stainless steel sink every time?
You don’t have to scrub it every time, but a quick wipe-down with a damp cloth after each use can help prevent grime build-up.
Is it okay to use a steel wool pad on stainless steel sinks?
It’s not recommended to use a steel wool pad, as it can scratch the surface and damage the shiny finish of your stainless steel sink.
Can I use dish soap to clean my stainless steel sink?
Yes, mild dish soap is a great choice for daily cleaning. Just make sure to rinse it thoroughly to avoid any residue.
Do I need to dry my stainless steel sink after cleaning?
Yes, drying your stainless steel sink with a microfiber cloth helps prevent water spots and maintains its shine.
Is it important to avoid harsh chemicals when cleaning stainless steel sinks?
Yes, harsh chemicals can damage the surface, cause discoloration, and dull the shine. Stick to gentle cleaners like baking soda and vinegar.
Can I use a magic eraser on my stainless steel sink?
Magic erasers are too abrasive and could cause scratches on your stainless steel sink. Stick to softer sponges or cloths.
Do I need to polish my sink after cleaning?
Polishing isn’t necessary every time, but it can help maintain that extra shine. Using a small amount of oil on a microfiber cloth will work wonders for polishing.
Is there a way to prevent water stains from forming on my stainless steel sink?
Regular drying and wiping down your sink after use is the best way to prevent water stains from forming on stainless steel surfaces.