As an Amazon Associate, I earn from qualifying purchases at no extra cost to you.
How to Sterilize Jars in the Oven: Easy, Safe, and Practical Tips
Sometimes you're halfway through making jam or pickles and suddenly realize your jars aren't ready. You don't want to ruin hours of work, but boiling a huge pot of water feels messy and stressful. This is where the oven quietly saves the day. Many home cooks use it without thinking twice, and once you try it, it feels almost obvious. It's calm, clean, and surprisingly reliable.
Key Takeaways: Wash jars well with hot, soapy water and rinse thoroughly. Check every jar for cracks or chips. Preheat the oven to 275°F. Place dry jars upright on a baking tray without touching. Heat for 20 minutes. Let jars cool slightly in the oven. Handle with oven mitts. Fill jars while warm and seal immediately.
Preparing Jars for the Oven
Before the oven does any work, the jars need proper attention. Start with a deep wash using hot water and dish soap. Don't rush this part. Run your fingers around the rim and threads where sticky residue loves to hide. Even a small amount of leftover food can affect safety later. Rinse well so no soap film stays behind.
Once clean, inspect each jar closely. Hold it up to the light and look for tiny cracks, chips, or weak spots along the rim. If a jar looks even slightly damaged, don't risk it. Glass under heat needs to be strong and intact. This step alone prevents most oven accidents.
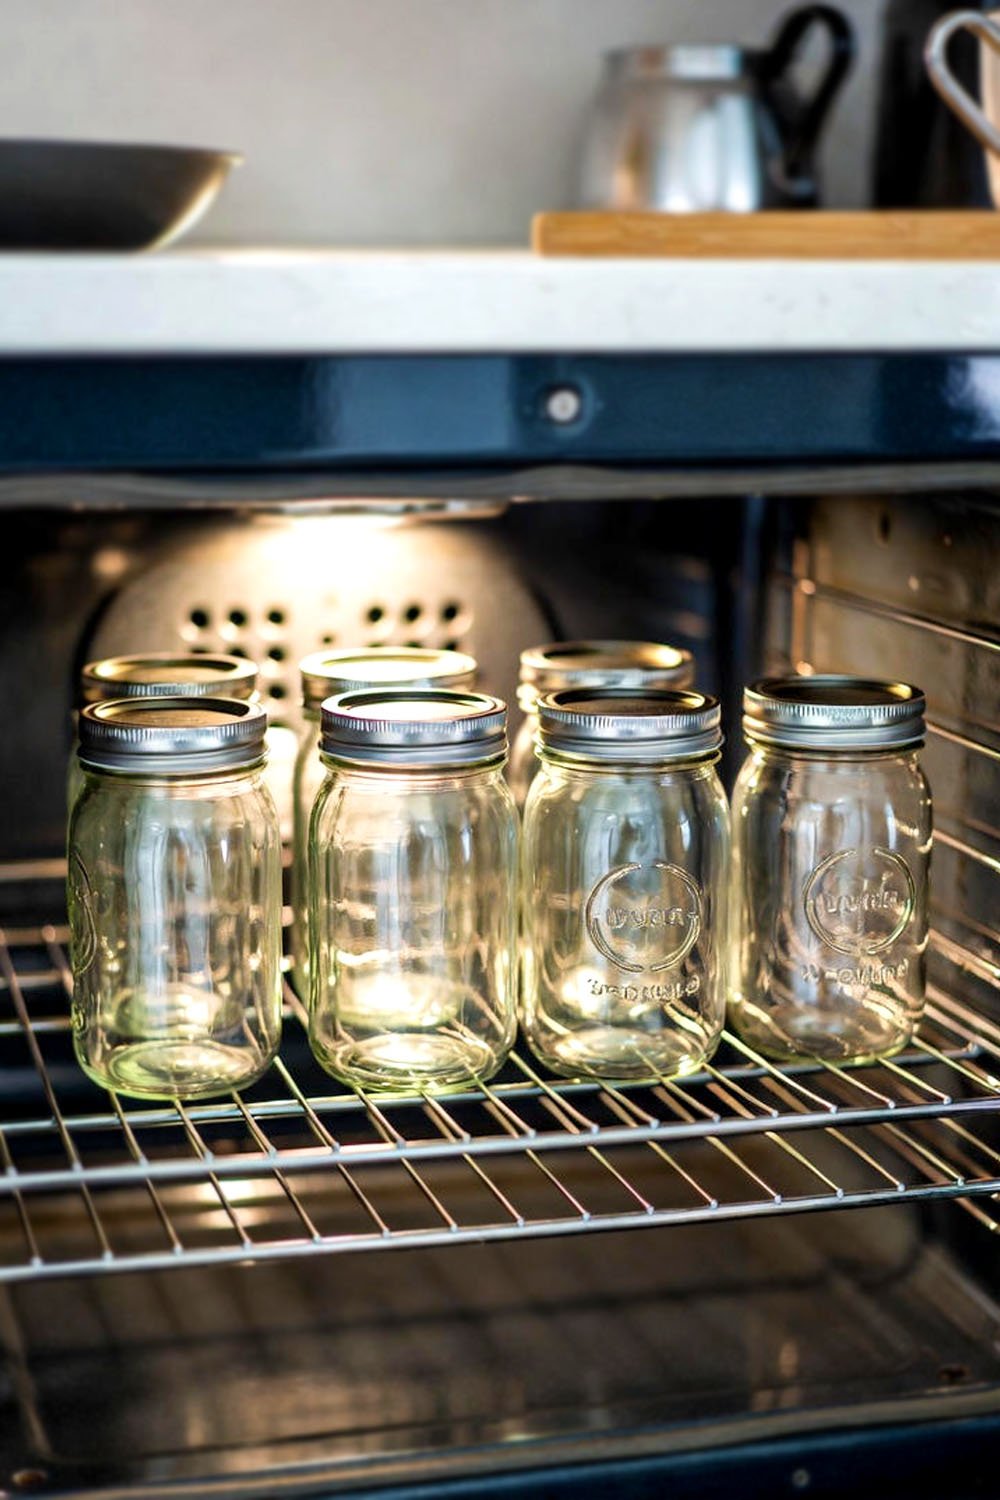
Drying matters more than people think. Water droplets can create uneven heat and stress the glass. Either air-dry the jars upside down or dry them fully with a clean towel. When they're dry, place them upright on a baking sheet. Space them out so they don't touch. Good airflow helps heat reach every surface evenly.
- Wash jars thoroughly, including rims and threads
- Discard any jars with cracks or chips
- Dry jars completely before placing in the oven
Preheating the Oven Safely
The right oven temperature makes all the difference. Set your oven to 275°F and let it fully preheat. This temperature is strong enough to kill bacteria but gentle enough for glass. Going hotter doesn't make jars cleaner; it only increases the risk of cracking.
Avoid placing jars into an already blazing-hot oven. Let them warm up gradually as the oven heats. This slow rise in temperature protects the glass from sudden stress. Place the rack in the middle of the oven so heat flows evenly around the jars.
Resist opening the oven door while it heats. Each peek drops the temperature and disrupts consistency. If you're sterilizing many jars, use one rack at a time rather than crowding them. Even spacing always beats speed when safety matters.
- Preheat oven fully to 275°F
- Use the middle rack for even heat
- Avoid crowding jars or opening the door
Heating Jars Effectively
Once the oven is ready, let the jars heat for at least 20 minutes. This time allows the heat to reach the entire surface of the glass, inside and out. There's no need to flip or cover them. Dry heat does the job quietly and thoroughly.
Keep jars upright on the baking tray. Stacking or laying them on their sides can create weak heating spots. If your oven heats unevenly, rotating the tray once halfway through can help, but it's optional.
While the jars are heating, prepare your food and lids. Timing matters here. Warm jars should be filled soon after heating to keep everything clean and safe. Always use thick oven mitts when handling jars. They stay hot longer than you expect, and bare hands are never worth the risk.
- Heat jars upright for 20 minutes
- Keep jars uncovered and spaced
- Handle only with oven mitts
Cooling Jars Safely
When the heating time is done, turn off the oven but leave the jars inside for a short while. This gentle cooling protects the glass from cracking. Ten to fifteen minutes is usually enough. You want jars warm, not dangerously hot.
If you need to remove jars sooner, place them on a folded towel or wooden board. Never set hot jars directly on cold countertops or metal surfaces. That sudden change can cause the glass to snap.
During this time, inspect the jars again. Heat can reveal tiny flaws that weren't obvious before. If a jar shows any new cracks, set it aside. It's far better to lose one jar now than lose an entire batch later.
- Let jars cool gradually in the oven
- Use towels or wooden surfaces
- Recheck jars for cracks after heating
Filling and Sealing Jars
Warm jars are ready to be filled, and this part deserves patience. Use a funnel to keep rims clean and prevent spills. Fill jars with hot food, leaving proper headspace—usually about ¼ to ½ inch. This space allows food to expand and seals to form correctly.
Before placing lids, wipe the rims with a clean, damp cloth. Even a tiny drip can stop a lid from sealing. Place the lid on and screw the band until it's just finger-tight. Over-tightening can trap air; under-tightening can cause leaks.
Once sealed, process jars according to your recipe. As they cool, you'll often hear the soft "pop" that signals a proper seal. Label jars with the date and contents right away. Future-you will be grateful.
- Use a funnel and leave headspace
- Clean rims before sealing
- Tighten lids finger-tight only
Storing Sterilized Jars
After sealing, jars need the right storage environment. A cool, dark pantry is ideal. Avoid places near stoves, windows, or heaters. Heat and light slowly break down food quality and seals.
After 24 hours, check the seals. Press the center of each lid. If it doesn't move, the seal is solid. If it pops, refrigerate that jar and use it soon. This simple check prevents spoilage later.
Empty sterilized jars can also be stored for future use. Make sure they're dry and covered to keep dust out. Stored this way, they stay ready for months, which makes spontaneous canning much easier.
- Store sealed jars in a cool, dark place
- Check seals after 24 hours
- Keep empty jars covered and dry
Final Thoughts
Sterilizing jars in the oven is calm, clean, and reliable. It removes the chaos of boiling water and gives you more control. With careful preparation and gentle heat, your jars become safe vessels for your hard work. Once you try it, this method often becomes the quiet favorite in the kitchen.
| Action | Details | Helpful Tip |
|---|---|---|
| Wash jars | Hot water and dish soap | Focus on rims and threads |
| Inspect glass | Look for cracks or chips | Discard damaged jars |
| Preheat oven | 275°F | Middle rack works best |
| Arrange jars | Upright, spaced apart | Never stack jars |
| Heat jars | 20 minutes | Rotate tray if needed |
| Cool jars | 10–15 minutes | Avoid cold surfaces |
| Fill jars | Warm food, proper headspace | Use a funnel |
| Store jars | Cool, dark place | Label with date |
Frequently Asked Questions (FAQs)
Is it safe to sterilize jars in the oven?
Yes, it's safe when done properly. The key is moderate heat and gradual temperature changes. Washing jars first removes debris, and oven heat kills remaining bacteria. As long as jars are intact and handled carefully, this method is reliable and widely used by home cooks.
Can I use oven-sterilized jars for canning?
Yes, oven-sterilized jars are suitable for canning when filled while warm. Combine this with proper sealing and recipe-based processing. Many people use this method for jams, pickles, and preserves with excellent results.
Do I need to sterilize lids in the oven too?
No. Metal lids can warp or discolor in dry heat. It's better to soften them in hot water. Keep lids clean and warm, but always separate from the oven process.
Is it necessary to let jars cool in the oven?
Yes, slow cooling protects the glass. Sudden temperature drops can cause cracks. Leaving jars inside the oven for a short time keeps the transition gentle and safe.
Can I reuse old jars safely?
You can reuse jars as long as they're undamaged. Wash, inspect, and sterilize them just like new ones. Reusing jars saves money and reduces waste.
Do I need to refrigerate oven-sterilized jars?
Not if they're sealed correctly. Properly sealed jars can stay in the pantry for months. Only refrigerate jars that didn't seal.
Is oven sterilizing better than boiling?
It depends on preference. Oven sterilizing is cleaner and easier for small batches. Boiling works well for large batches. Both methods are effective when done right.
Can jars break in the oven?
They can if cracked, overheated, or shocked by sudden temperature changes. Careful inspection, correct heat, and gradual cooling prevent most problems.