As an Amazon Associate, I earn from qualifying purchases at no extra cost to you.
How to Sterilize Canning Jars for Safe and Delicious Preserves
There's something magical about opening a jar of homemade jam or pickles in the middle of winter. But before you can enjoy that first sweet bite, you need to tackle a crucial step: sterilizing your canning jars. Skipping it even once can turn your efforts into a sour, moldy mess. I remember my first batch of strawberry jam; half the jars went bad because I rushed past sterilization. Let's make sure that never happens to you.
Clean jars thoroughly with hot soapy water, rinse well, and inspect for cracks. Boil jars, lids, and bands in water for at least ten minutes. Use a clean towel or tongs to handle hot jars. Keep jars warm until filling. Fill jars immediately with prepared food. Wipe rims before sealing. Secure lids lightly before processing in a boiling water bath or pressure canner. Allow jars to cool completely on a clean surface before storing. Check seals before labeling and storing.
Choosing the Right Jars
The first step to perfect canning starts at the very foundation: your jars. Not every jar in your kitchen cupboard will work. I once grabbed a random spaghetti sauce jar and ended up with leaks and a sad cleanup. Always pick jars labeled for canning. Look for Mason jars or any glass jars designed to handle heat and pressure. Avoid older jars with chips or cracks; even a tiny nick can cause the jar to shatter. Your preserves are only as safe as your jar.
When choosing jars, consider size and purpose. Half-pint jars are perfect for jams, while quart jars are ideal for pickles or sauces. Matching jar size to the recipe ensures even processing and avoids undercooked foods. Always inspect the threading on the jar neck. Damaged threads can prevent lids from sealing, which means a trip back to disappointment.
It's also worth remembering that new jars are often more forgiving than reused ones. I've reused older jars dozens of times, but I always double-check for scratches. Each scratch is a potential hiding place for bacteria. Treat your jars with respect.
Finally, store jars carefully before use. Keep them dust-free and away from sudden temperature changes. If a jar is cold when it hits boiling water, it might crack. Organizing jars by size and purpose in your kitchen makes canning day smoother and less stressful.
- Only use jars designed for canning
- Inspect jars for chips, cracks, and scratches
- Choose size based on recipe needs
- Store jars carefully to prevent temperature shock
Cleaning Jars Before Sterilization
A clean jar is a safe jar. Even the tiniest speck of dust or residue can ruin preserves. Start by washing each jar in hot soapy water. I like to use a soft brush or sponge, especially for those grooves near the top. Avoid harsh scrubbing pads that can scratch glass. Scratches are sneaky places for bacteria to hide.
Rinsing is crucial. Soap residue can affect the taste of your preserves and interfere with sealing. Run the jar under hot water for at least 15 seconds, imagining that you are giving it a gentle warm bath. If you notice stubborn stains or sticky labels, soak jars in warm water for ten minutes before scrubbing again.
Inspecting jars after washing is just as important. I've ruined more than one batch by assuming a jar was spotless. Hold each jar up to the light and check for cracks or chips. Even a small flaw can cause jars to break during boiling, and nobody wants hot jam all over the kitchen.
Finally, keep jars upright and ready. You want them to stay clean after washing. Some people rinse and leave them on a drying rack, but I prefer to line them up in a clean sink with warm water until I'm ready to sterilize. It's a simple trick that prevents dust from settling.
- Wash jars in hot soapy water
- Rinse thoroughly to remove soap residue
- Inspect for cracks and chips
- Keep jars upright until sterilizing
Boiling Water Method for Sterilization
Boiling water is the classic, reliable method to sterilize canning jars. Fill a large pot with water and bring it to a rolling boil. Lower jars gently using tongs, making sure water covers each jar by at least an inch. I've learned that placing jars directly from cold to boiling water can make them crack, so I always warm them slightly first.
Boil jars for at least ten minutes. If you are above 1,000 feet in elevation, add one extra minute per 1,000 feet. The water's heat kills bacteria, yeast, and molds that can ruin your preserves. While the jars are boiling, place lids and bands in a separate small pot of simmering water. Lids should not boil, as that can damage the sealing compound.
Once sterilization is complete, carefully remove jars using tongs or a jar lifter. Avoid touching the rims or interiors to keep them bacteria-free. I remember dropping a jar once and it shattered, splashing me with water and ruining the jar. Handling with care is key.
Keep jars in the hot water until you are ready to fill them. This prevents temperature shock when adding hot preserves. Cold jars plus hot jam equals cracks and heartbreak. Once filled, immediately seal and process as directed by your recipe.
- Boil jars fully covered with water
- Simmer lids separately
- Remove jars with tongs or lifter
- Keep jars warm until filling
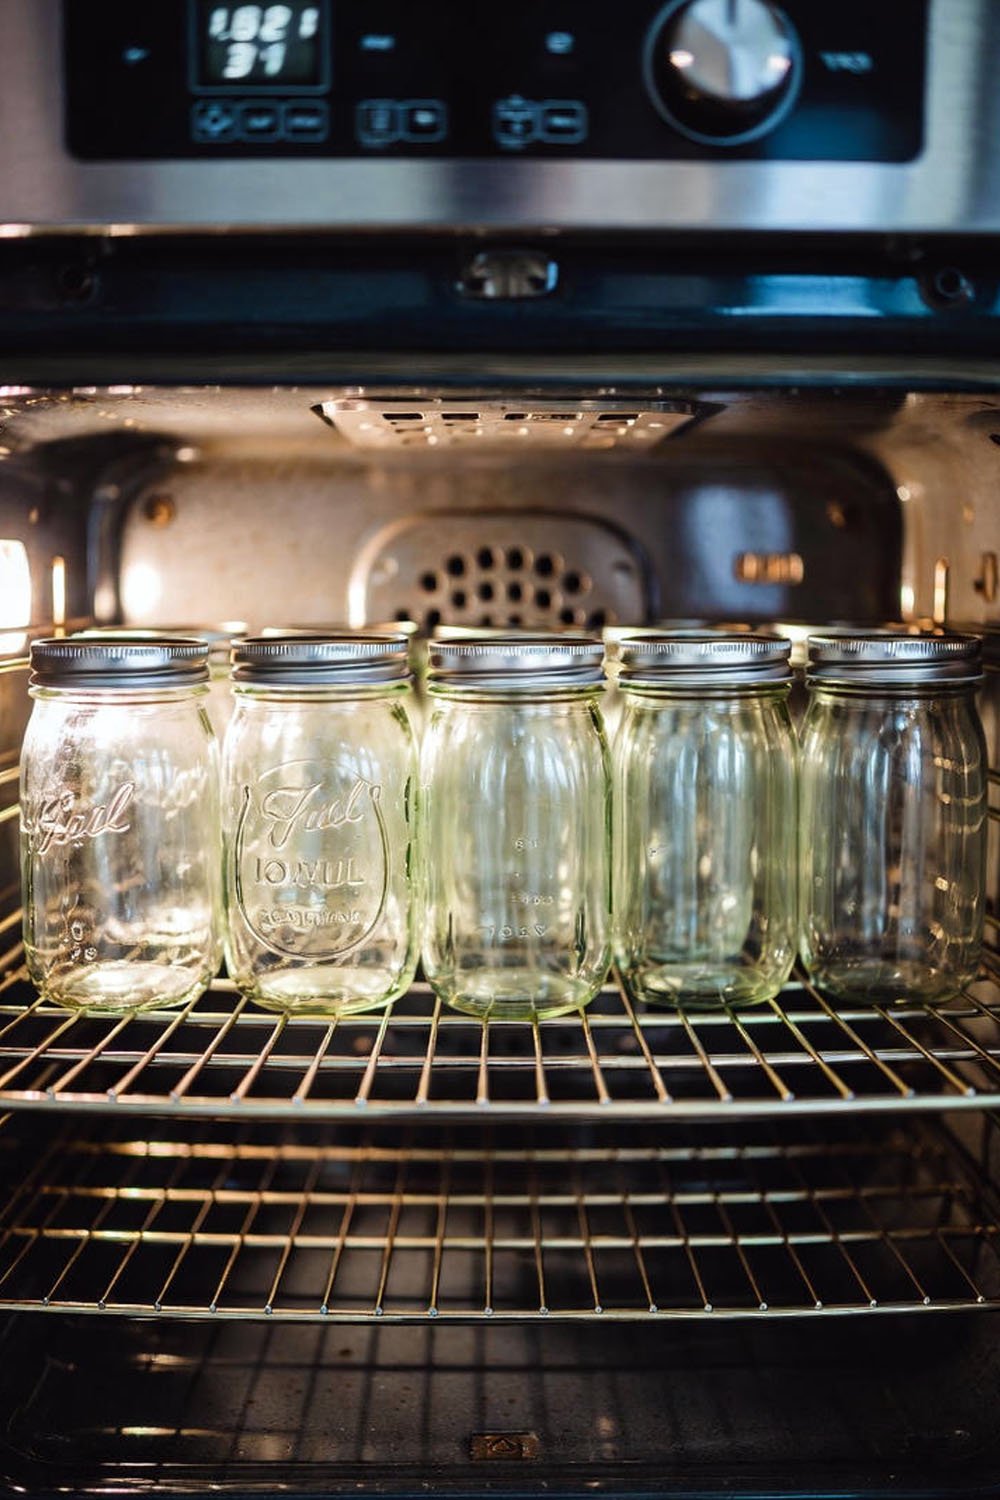
Oven Sterilization Technique
Using the oven for sterilization can save water and counter space. Preheat your oven to 275 degrees Fahrenheit. Arrange washed jars upright on a baking tray. I always line the tray with a clean kitchen towel to prevent jars from sliding or cracking. Never exceed 300 degrees as glass can break under high heat.
Place jars in the oven for about 20 minutes. This method is especially handy when you have many jars and limited stove space. Keep an eye on the jars; you don't want them to overheat or brown. Oven sterilization works best with wide-mouth jars because heat circulates evenly.
While jars bake, you can focus on preparing lids and bands. Keep them in simmering water to soften the sealing compound. Avoid the oven for lids; high heat can warp them and ruin the seal.
When removing jars, use oven mitts or tongs. Handle each jar gently and avoid stacking. Pour hot preserves directly into warm jars for best results. This method has saved me on more than one crowded canning day when my stovetop was full.
- Preheat oven to 275°F
- Place jars upright on a towel-lined tray
- Sterilize for 20 minutes
- Handle jars carefully when removing
Filling Jars Safely
Filling jars is where the magic begins. Keep jars hot and use a ladle or funnel to pour in preserves without touching the rims. I always imagine I'm gently tucking each jar into bed, so it stays clean and happy. Leave a small headspace for expansion, usually ¼ to ½ inch.
Wipe rims with a damp, clean cloth. This simple step ensures a proper seal and prevents food from interfering with the lid. I've skipped this once, and the lid didn't seal properly, leading to wasted jam.
Place lids on jars and screw bands until fingertip tight. Don't overtighten; the air inside needs to escape during processing. Use a water bath or pressure canner to finish the sealing process. Timing is crucial; follow your recipe carefully to avoid undercooked or spoiled preserves.
Once jars are processed, remove and place on a clean towel. Let them cool undisturbed for 12 to 24 hours. You'll hear the satisfying pop of seals, and the aroma fills the kitchen. That moment always makes me smile, knowing the fruit of your labor is now safely preserved.
- Use funnels or ladles to fill jars
- Leave proper headspace
- Wipe rims before sealing
- Process jars according to recipe
Checking Seals and Storing Jars
After jars have cooled, check each lid by pressing the center. A properly sealed lid will not flex up or down. I remember my first batch of pickles; one lid had a tiny pop, and I had to eat the contents quickly to avoid waste. It's disappointing but also a good lesson.
Remove bands for long-term storage to prevent rust. Label jars with content and date. I like to write with a permanent marker on masking tape; it keeps the kitchen looking tidy and makes it easy to find the right jar later.
Store jars in a cool, dark, dry place. Avoid sunlight, which can affect color and flavor. A pantry or cabinet works best. Proper storage extends shelf life and keeps your hard work safe and delicious for months.
Periodically check jars for signs of spoilage. If you notice bubbling, leaks, or mold, discard immediately. That's the safety part of the magic; homemade preserves are rewarding only if they're safe.
- Test seals by pressing lids
- Remove bands for storage
- Label jars with content and date
- Store in a cool, dark place
Final Thoughts
Sterilizing canning jars may feel tedious, but it's the backbone of safe, delicious preserves. Each step, from washing to sealing, protects your hard work and makes every jar a success story. Take your time, follow methods carefully, and enjoy the sensory joy of creating food that lasts. With practice, sterilizing jars becomes second nature and an enjoyable ritual in the kitchen.
| Action | Details | Tips |
|---|---|---|
| Choose jars | Mason or heat-safe glass | Inspect for cracks/chips |
| Wash jars | Hot soapy water | Use soft brush; rinse well |
| Boil jars | Cover with water, 10 min | Add extra minute if above 1000 ft |
| Oven sterilization | 275°F for 20 min | Use towel-lined tray; do not exceed 300°F |
| Prepare lids | Simmer in water | Avoid boiling; softens sealing compound |
| Fill jars | Leave ¼–½ inch headspace | Use funnel; wipe rims before sealing |
| Process jars | Boiling water bath or pressure canner | Follow recipe timing |
| Cool & store | 12–24 hours on towel | Check seals; label and store in dark, cool place |
Frequently Asked Questions (FAQs)
Is it necessary to sterilize jars every time?
Yes, sterilizing jars is essential for safety, especially for high-acid foods like jams and pickles. Even if jars look clean, bacteria and yeast can hide in scratches or residue. Sterilization ensures your preserves remain safe to eat and prevents mold growth. Some recipes allow for hot-fill techniques where sterilization isn't strictly required, but boiling or oven sterilization is the safest approach.
Can I reuse old jars from store-bought products?
Absolutely, but only if they are in good condition. Remove labels, wash thoroughly, and inspect for cracks or chips. Avoid jars with scratches on the interior or threading. Reusing jars saves money, but safety is paramount. Proper sterilization before filling ensures bacteria are eliminated and preserves will seal correctly.
Do I need to sterilize lids as well as jars?
Yes, lids must be heated in simmering water to soften the sealing compound. Boiling lids can damage the rubber gasket and prevent proper sealing. Always handle with clean tongs and keep them warm until jars are ready to fill. Lids that are not prepared properly can compromise your preserves.
Is oven sterilization safe for all jars?
Oven sterilization is safe for standard Mason jars or heat-safe glass. Avoid antique or thin glass jars that can crack under heat. Keep temperature between 275–300°F and never exceed recommended limits. Use a towel-lined tray to prevent sliding and breakage.
Can I sterilize jars in the dishwasher?
Yes, a hot dishwasher cycle can sterilize jars, but it may not heat lids enough for proper sealing. Make sure jars are completely clean before use. Use the highest temperature setting and avoid opening the dishwasher before the cycle finishes to maintain sterility.
Do I have to sterilize jars if I'm making low-acid foods?
For low-acid foods like vegetables or meats, sterilization is crucial, and a pressure canner is required. Boiling water alone may not eliminate harmful bacteria like botulism. Proper sterilization combined with correct processing ensures safety.
Can I touch the inside of a sterilized jar?
No, avoid touching the inside or rims of jars to maintain sterility. Use tongs, jar lifters, or funnels to handle jars. Even clean hands can introduce bacteria that compromise your preserves. Think of the jar as a tiny safe for your food.
Is it okay to stack jars while sterilizing?
No, jars should never touch each other during sterilization. Overlapping jars can break due to heat stress and prevent even sterilization. Use a large pot or oven space to allow jars to sit individually. Safety and even heat distribution are essential.