As an Amazon Associate, I earn from qualifying purchases at no extra cost to you.
How to Sterilise Jars in Boiling Water: Expert Guide and Tips
There is something quietly satisfying about filling a clean glass jar with homemade jam or pickles. Yet many people learn the hard way that skipping proper sterilisation can spoil all that effort. I once watched a whole shelf of jam grow mold because the jars were "just rinsed." Sterilising jars in boiling water sounds simple, but doing it correctly makes all the difference between safe food and wasted time.
Inspect jars carefully for cracks and chips, wash jars and lids thoroughly with warm soapy water, place jars upright in a deep pot with enough water to fully cover them, bring the water to a rolling boil and keep boiling for at least ten minutes, lower heat and keep jars hot until ready to fill, remove jars carefully using tongs, allow excess water to drain without touching the inside, and fill jars while they are still warm to maintain sterilisation.
Understanding why sterilising jars matters
Sterilising jars is not just a traditional habit passed down through families; it is a vital food safety step. When you preserve food, you create an environment where bacteria can grow if conditions are right. Even tiny traces of bacteria, yeast, or mold left inside a jar can multiply over time. Boiling water sterilisation uses heat to kill these microorganisms, reducing the risk of spoilage and foodborne illness.
Many home cooks underestimate how resilient bacteria can be. A quick rinse under the tap removes visible dirt, but it does not kill harmful microbes. Glass jars may look clean, yet invisible organisms can still be present. Boiling water reaches temperatures high enough to destroy these threats, making it one of the safest methods for home use.
Another reason sterilisation matters is shelf life. Properly sterilised jars help your preserves last longer without refrigeration. This is especially important for jams, chutneys, sauces, and pickles meant to sit in the pantry for months. The effort you put into boiling jars directly protects the time and ingredients you invest.
Sterilising jars also improves flavor and texture. Spoilage bacteria can alter taste and smell before visible mold appears. By starting with sterile jars, you allow your recipe's natural flavors to shine through without interference.
Finally, this process builds confidence. Knowing your jars are safe lets you share homemade food with family and friends without worry. It turns home preserving into a reliable, enjoyable practice rather than a gamble.
- Sterilisation kills harmful bacteria and mold
- Clean-looking jars may still carry microbes
- Boiling improves shelf life and food safety
- Proper prep protects flavor and quality
Choosing the right jars and equipment
Before boiling anything, choosing suitable jars and tools sets you up for success. Not all glass jars are made for high heat. Canning jars, often labeled as mason jars, are designed to handle boiling temperatures without cracking. Reusing commercial food jars can be risky because thinner glass may shatter under heat.
Inspect every jar closely. Run your finger around the rim to feel for chips, and hold the jar up to the light to check for hairline cracks. Even small imperfections can prevent a proper seal or cause breakage during boiling. Lids and bands matter too. Most modern canning lids are designed for single use to ensure a tight seal, while bands can be reused if they are rust-free.
Your equipment should include a deep pot, jar lifter or tongs, and a clean towel. The pot must be tall enough to cover jars with at least an inch of water. A rack at the bottom of the pot is helpful but not required; a folded towel can prevent jars from rattling against the metal base.
Cleanliness extends beyond jars. Wash your hands thoroughly, clean your countertop, and keep pets away from the area. Sterilisation is only effective if the environment stays clean while you work. Preparing everything in advance keeps the process smooth and stress-free.
Choosing quality equipment might feel like an extra expense, but it saves money and frustration in the long run. Broken jars, failed seals, and spoiled food cost far more than proper tools.
- Use heat-safe canning jars only
- Inspect jars and lids for damage
- Gather pot, tongs, towel before starting
- Keep workspace clean and organised
Preparing jars before boiling
Preparation is where many people cut corners, yet it plays a major role in successful sterilisation. Start by washing jars, lids, and bands in warm soapy water. This removes grease, dust, and residue that boiling alone may not handle well. Rinse everything thoroughly to avoid soap film.
Once washed, place jars upright on a clean towel. Avoid touching the inside of the jars with your fingers. Natural oils from skin can introduce bacteria. If you accidentally touch the inside, rewash the jar to be safe. Lids should be handled gently, especially those with sealing compounds.
Some people wonder whether dishwashers can replace hand washing. A dishwasher can clean jars well, but it does not always sterilise them unless it has a high-heat sanitising cycle. Even then, boiling is recommended for extra safety, particularly for long-term storage foods.
Preparing jars also means planning timing. Jars should go into boiling water close to the time you plan to fill them. Sterilising too early and letting jars sit can allow new bacteria to settle. Keeping jars hot until filling reduces this risk and helps prevent thermal shock when hot food is added.
This preparation stage sets a calm rhythm. When jars are clean, inspected, and ready, the boiling process feels straightforward instead of rushed. Good prep turns a potentially messy task into a controlled, satisfying routine.
- Wash jars and lids with warm soapy water
- Avoid touching the inside after cleaning
- Use dishwashers cautiously, not as a replacement
- Plan timing so jars stay hot before filling
How to sterilise jars in boiling water safely
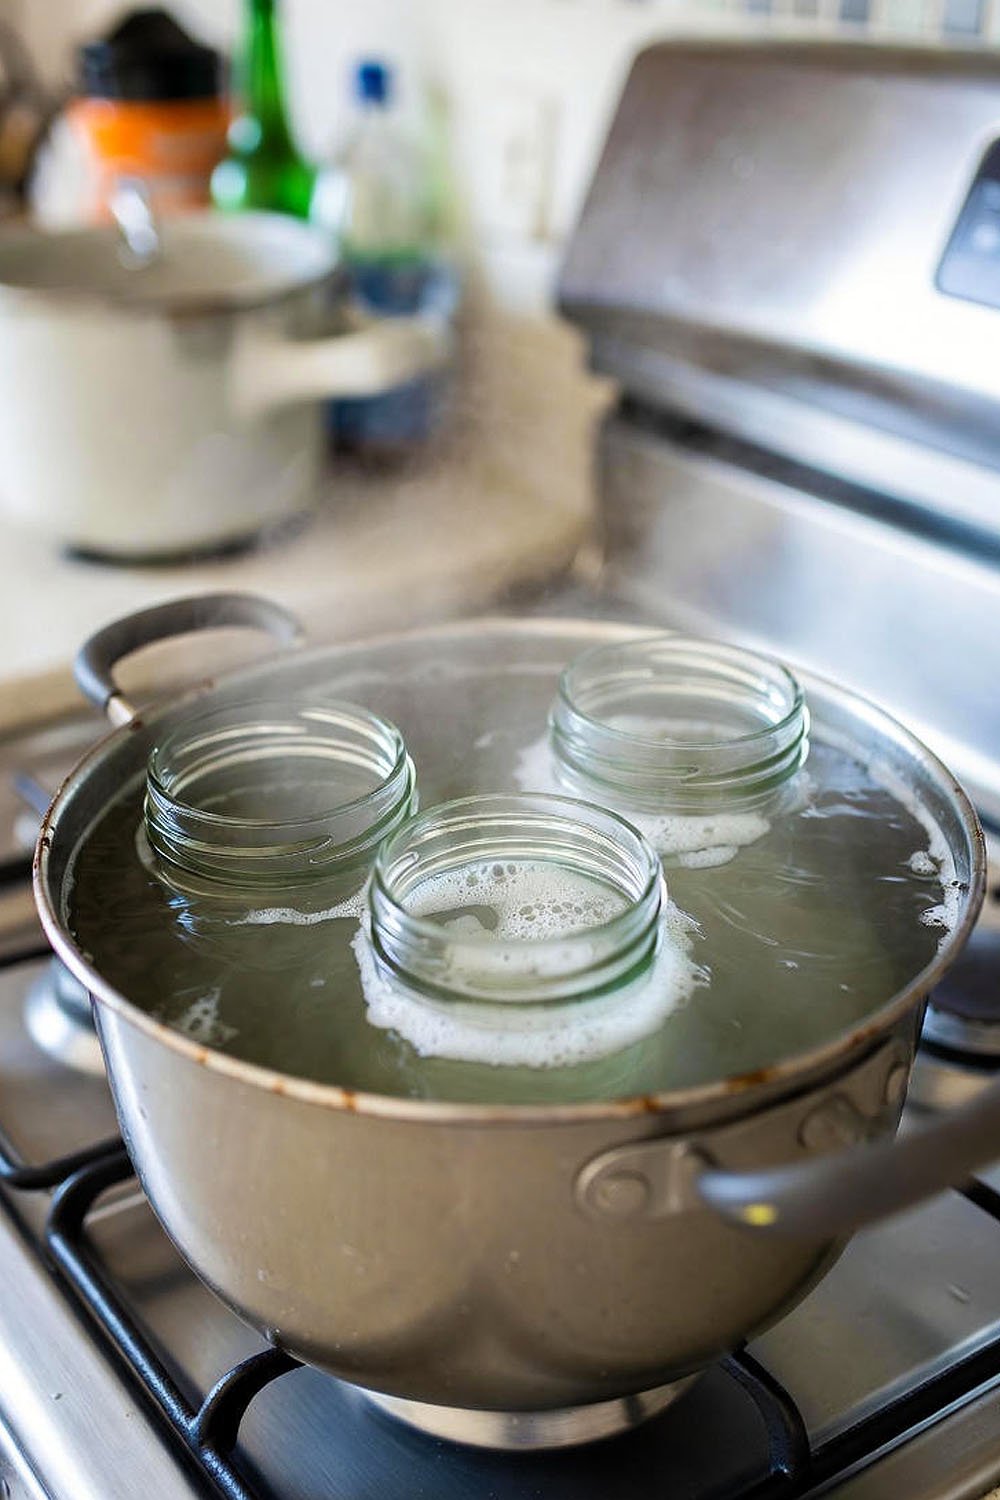
Sterilising jars in boiling water is simple, but attention to detail keeps it safe and effective. Place a rack or folded towel at the bottom of your pot to prevent direct contact with heat. Arrange jars upright, leaving space between them so water can circulate freely.
Fill the pot with enough water to cover jars by at least one inch. Turn the heat to high and bring the water to a full rolling boil. Once boiling, start timing. For most home preserving, boiling jars for ten minutes is sufficient. At higher altitudes, add one extra minute for every 1,000 feet above sea level.
While jars boil, keep lids in a separate pan of hot, not boiling, water. Boiling lids can damage the sealing compound. Let them sit in hot water to soften and sanitise them without harm.
When the time is up, turn off the heat but keep jars in the hot water until you are ready to fill them. Remove jars one at a time using tongs, letting excess water drain back into the pot. Place jars on a clean towel and fill immediately with hot food.
Safety matters throughout. Wear oven mitts, move slowly, and keep children away from the stove. Hot glass and boiling water demand respect. Taking your time prevents burns and broken jars, ensuring the process stays safe and calm.
- Use rack or towel to protect jars
- Boil jars fully submerged for ten minutes
- Keep lids hot but not boiling
- Remove jars carefully and fill while warm
Common mistakes and how to avoid them
Even experienced home cooks make mistakes when sterilising jars. One common error is overcrowding the pot. When jars are packed too tightly, water cannot circulate properly, leading to uneven heating. Always leave space between jars so boiling water can reach all surfaces.
Another mistake is letting jars cool completely before filling. Temperature shock can crack jars when hot food is added. Keeping jars hot until filling reduces this risk and maintains sterilisation. If jars cool down, it is safer to reboil them briefly.
Touching the inside of jars after sterilisation is another issue. It can reintroduce bacteria, undoing your careful work. If this happens, do not panic. Simply rewash and reboil the jar. Patience is better than risking spoilage.
Using damaged jars or lids often leads to failed seals. Chips and cracks may seem minor, but they compromise safety. Always discard questionable jars. Saving one jar is not worth risking an entire batch.
Finally, rushing the process can cause accidents. Burns, broken glass, and spills usually happen when people hurry. Give yourself enough time and space. Treat sterilising jars as a focused task, not something to squeeze in between chores.
- Avoid overcrowding jars in the pot
- Keep jars hot until filling
- Never touch the inside after sterilising
- Discard damaged jars and lids
Storing and handling jars after sterilisation
Once jars are sterilised and filled, proper handling continues to matter. After sealing, let jars cool naturally at room temperature. Avoid tightening bands while jars are hot, as this can interfere with sealing. You may hear soft popping sounds as jars cool, which is a good sign of a successful seal.
After 12 to 24 hours, check seals by pressing the center of each lid. A sealed lid will not flex. If a jar did not seal, refrigerate it and use the contents soon. Never attempt to reprocess spoiled food.
Label jars with the contents and date. This simple habit prevents guesswork months later. Store jars in a cool, dark place away from direct sunlight. Light and heat can degrade food quality over time, even in well-sealed jars.
Handling jars gently during storage reduces the chance of seal failure. Avoid stacking jars directly on top of one another unless you use protective layers. Periodically inspect stored jars for leaks, bulging lids, or unusual smells.
Proper storage completes the sterilisation journey. It ensures that all your careful preparation pays off with safe, delicious food whenever you open a jar.
- Let jars cool naturally after sealing
- Check seals before long-term storage
- Label jars clearly with date and contents
- Store in a cool, dark, dry place
Final Thoughts
Sterilising jars in boiling water is a simple skill with powerful benefits. It protects your food, your effort, and your peace of mind. With careful preparation and calm attention, this method becomes second nature. Once mastered, it opens the door to confident home preserving and the quiet joy of opening a perfect jar months later.
| Action | Details | Helpful Tips |
|---|---|---|
| Inspect jars | Check for cracks and chips | Discard damaged glass |
| Wash thoroughly | Use warm soapy water | Rinse well to avoid residue |
| Prepare pot | Add rack or towel | Prevents jar breakage |
| Boil jars | Fully submerge for 10 minutes | Add time for high altitude |
| Heat lids | Keep in hot water | Do not boil lids |
| Remove safely | Use tongs or jar lifter | Let water drain back |
| Fill jars | Add hot food promptly | Avoid temperature shock |
| Store properly | Cool, label, and check seals | Keep in dark, cool place |
Frequently Asked Questions (FAQs)
Is it necessary to sterilise jars if I plan to refrigerate the food?
Even if you plan to refrigerate your food, sterilising jars is still a smart habit. Refrigeration slows bacterial growth but does not stop it completely. Starting with sterile jars reduces the number of microorganisms present, which helps food stay fresh longer and taste better. For short-term storage, the risk is lower, but sterilisation adds an extra layer of safety and cleanliness. It also prevents odors from lingering in jars and keeps your refrigerator contents safer overall.
Can I sterilise jars without a rack in the pot?
Yes, you can sterilise jars without a rack. A folded kitchen towel placed at the bottom of the pot works well. The goal is to prevent jars from sitting directly on the metal base, where heat is most intense. This reduces the risk of cracking or breaking. Ensure the towel stays submerged and does not block water circulation. Many home cooks successfully use this method with excellent results.
Do I need to boil jars longer for thicker glass?
Glass thickness does not change the required boiling time for sterilisation. The standard ten minutes at a rolling boil is enough to kill bacteria on the jar surface. What matters more is full submersion and consistent boiling. Thicker glass may take slightly longer to heat through, but the boiling water ensures the entire jar reaches sterilising temperature. Focus on proper timing and coverage rather than glass thickness.
Is it safe to reuse commercial food jars?
Reusing commercial food jars is possible but comes with risks. These jars are often made from thinner glass not designed for repeated boiling. They may crack or break during sterilisation. If you choose to reuse them, inspect carefully and use caution. For long-term pantry storage, purpose-made canning jars are safer and more reliable. Reused jars are better suited for dry storage or refrigeration.
Can I sterilise jars in advance and store them empty?
Sterilising jars far in advance is not ideal. Once jars cool and sit exposed to air, they can collect new bacteria. If you need to prepare ahead, keep jars in hot water until use or sterilise them shortly before filling. If jars have been sitting for hours or days, it is safer to reboil them briefly before use to ensure cleanliness.
Do I need to dry jars after boiling?
No, you do not need to dry jars after boiling. In fact, air drying or wiping can introduce bacteria or lint. It is best to remove jars from hot water and let excess water drain naturally. Filling jars while they are still warm and wet is safe and helps maintain sterilisation. Any remaining water will evaporate quickly when hot food is added.
Is it okay to boil lids with the jars?
Boiling lids is not recommended. The sealing compound on modern lids can be damaged by boiling water, leading to seal failure. Instead, place lids in hot, not boiling, water to sanitise and soften them. This keeps the seal intact while still reducing bacteria. Always follow the manufacturer's instructions for best results.
Can altitude affect boiling water sterilisation?
Yes, altitude affects boiling temperatures. At higher altitudes, water boils at a lower temperature, which means you need to boil jars longer to achieve the same level of sterilisation. A common rule is to add one extra minute of boiling time for every 1,000 feet above sea level. This adjustment ensures bacteria are effectively destroyed, even in mountain regions.